Module Instance
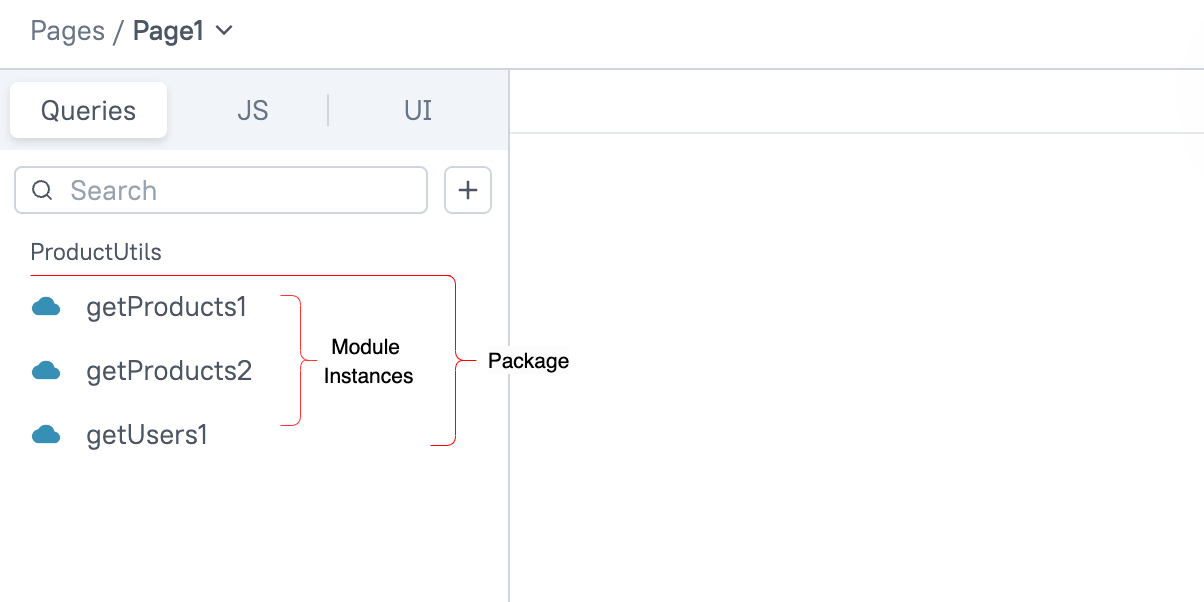
When you add a module from the package into your application, you create a module instance. You can create multiple instances of the same package, each with different settings and configurations. Instances are named sequentially (e.g., productutil1, productutil2).
This page provides information about the module settings and properties available within the app, which allows you to configure the query and JS modules.

Query module instance
These are all the properties and settings available for a Query Module instance within any app. When you add multiple query modules, whether from the same package or different ones, these properties will be available to configure each module instance according to your specific needs.
Properties
These properties are only available if they are defined in the Query Module.
Inputs
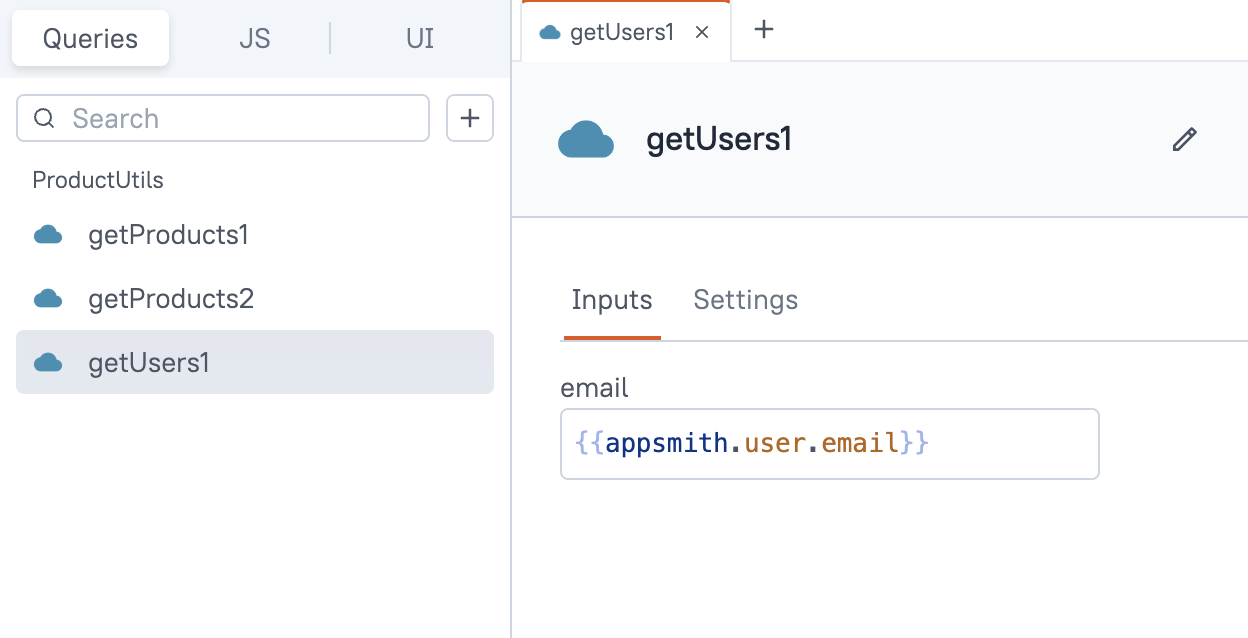
The input property lets you pass dynamic values from your app to the query module, which allows you to update data based on user interactions or widget bindings.
You cannot edit the Inputs name or query configuration directly from the App. You can pass different values to the available inputs at runtime using the .run() function. The values passed through .run() will take precedence over the default values set on the module instance page.

Example:
If you have an input named distinct_id, you can pass data like this:
//distinct_id
{{appsmith.user.email}}
For more information on how to read the dynamic data, see Module.
Settings
These settings allow you to configure the query module according to your requirements
Run query on page load
When enabled, this property allows the query to automatically execute each time the page is loaded. You can choose to enable it based on your specific requirements and configure it to execute on page load.
Request confirmation before running query
When enabled, this property displays a confirmation modal each time a query is executed. This ensures that users can confirm their action before executing the query, preventing unintended data updates.
JS module instance
These properties are customizable options available within the JS editor of the JS module. They can be accessed by adding the JS module to your app. When you add multiple JS modules, whether from the same package or different ones, you can configure each module instance using these properties to meet your specific needs.
Parameters
This property displays all the parameters available per function.
Inputs
The input property allows you to pass dynamic values from your app to the JS module. The input parameters are only available if they are defined in the JS function. You cannot edit the input name or JS module configuration from the App; you can only pass values to the available inputs.
You can pass data either using this input property or by providing values during runtime inside an event (e.g., authUtils.login('email@domain.com', 'dsoi3$dfssn');). If both methods are used, the runtime parameters will take precedence over the values set in the UI.
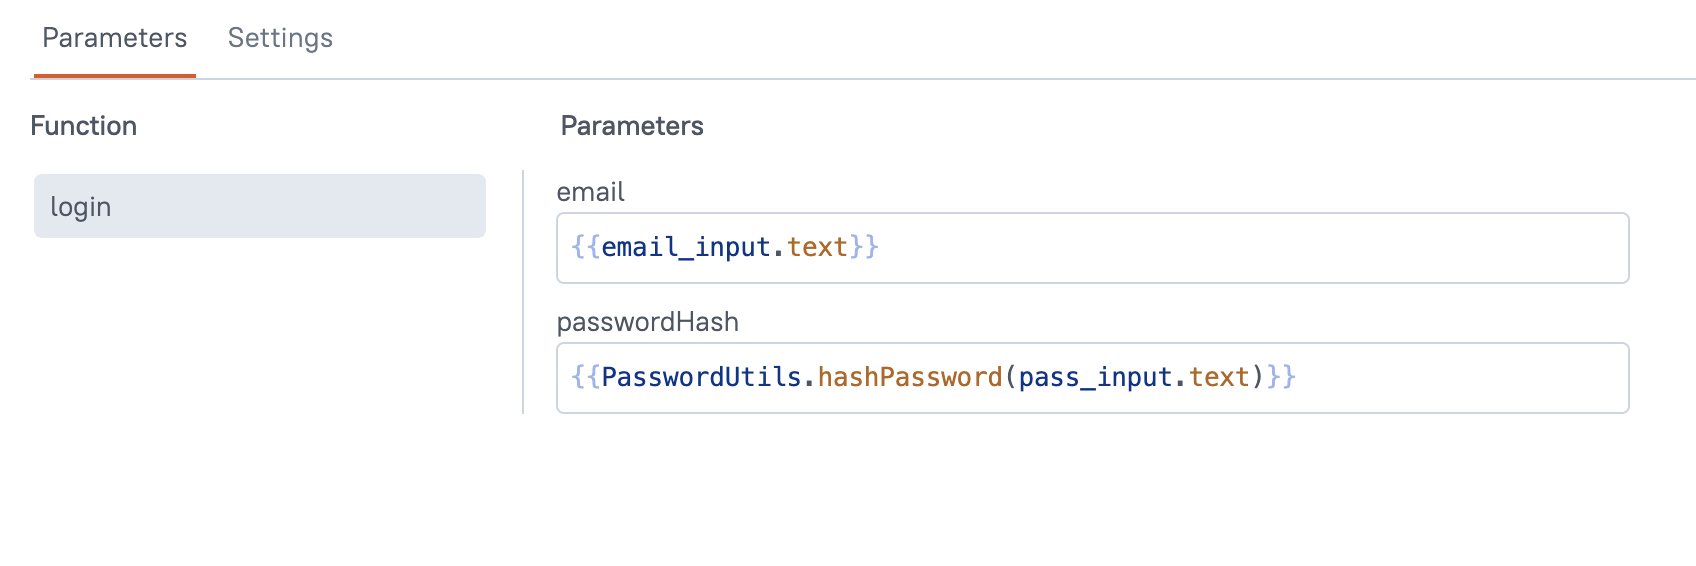
Example: If you have a JS function with predefined parameters like email and passwordHash, and you want to pass Input widget data from the app to the JS module, you can use the Inputs property.
//JS Module
export default {
  myFunction: (email, passwordHash) => {
    console.log("Parameter 1: ", email);
    console.log("Parameter 2: ", passwordHash);
    // Perform operations using param1 and param2
  }
}
//JS module instance
email:
{{email_input.text}}

passwordHash:
{{PasswordUtils.hashPassword(pass_input.text)}}

Function setting
This setting allows you to configure each function available in the JS module according to your requirements.
Function name
This setting displays all the function names available in the JS module.
Run on page load
When enabled, this property allows the specified JS function to run when the page loads. You can set this property for each JS function available.